Holitas friends , today I am going to show How to make a cute Angel or cupid frame , I used the same Angel that I did for Christmas , but I decided to make some changes for Valentine's day, I think that you can make some changes and turn it an nice gift for someone special.
I made those for all classroom of the kinder garden, you can see more pictures here in my Gallery (the last pictures)
1.- If you dont have tools to cut the wood, try to use hard foam.
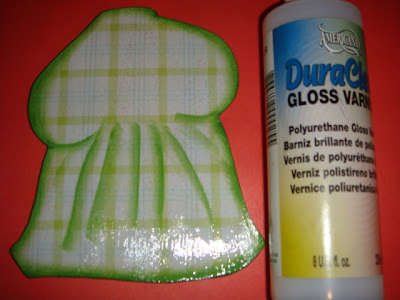
2.- I used the green Acrylic paint to make shadow.
3.- Now The wings ; I drew 3 different sizes wing on white cardboard, then I cut it, like you can see:
4.- I used a staple to put all wing together, then I put glue on the top of the wings
5.- My favorite part, I love the glitter , I didn't have to put it on the middle.
6.- Now the face, We need cream felt , black beads, needle and thread to sew the mouth and nose.
7.- I used a Hard foam (any color) or you can use cardboard , it will be covered by the face.
8.- I used my makeup to paint his cheeks, then I glue some hair, But also you can use yarn if you dont have hair , see my gallery I used yarn like hair.
9.- Now the heart , I used a wood heart and the picture of my valentine ( MY SON ) , and red texture paint, applies like icing, dries with dimension.
10. For this part I used double red foam. I made shadows with dark red acrylic paint, I used my black sharpie to write and I did holes in the ends.
Product final
I hope that you like it . I would like to read What you think about my Cupid, please leave a comment..Thanks ;)


What a cute Valentine's day project. I love the way you give such detailed instructions, and lots of pictures. You can really see how it's done. Great job, and thanks for sharing. :)
ReplyDeleteThank so much for be my first comment..I am so happy
ReplyDeleteThis is so totally awesome.. thanks for making it so easy to understand... and all the pictures are just great.. again.. thanks...
ReplyDeleteThis is such a cute project. Thank you for sharing.
ReplyDeleteI love the Valentines day project and hope to incorporate the flower idea into a spring wreath. thank you so much for sharing your talent.
ReplyDelete